|
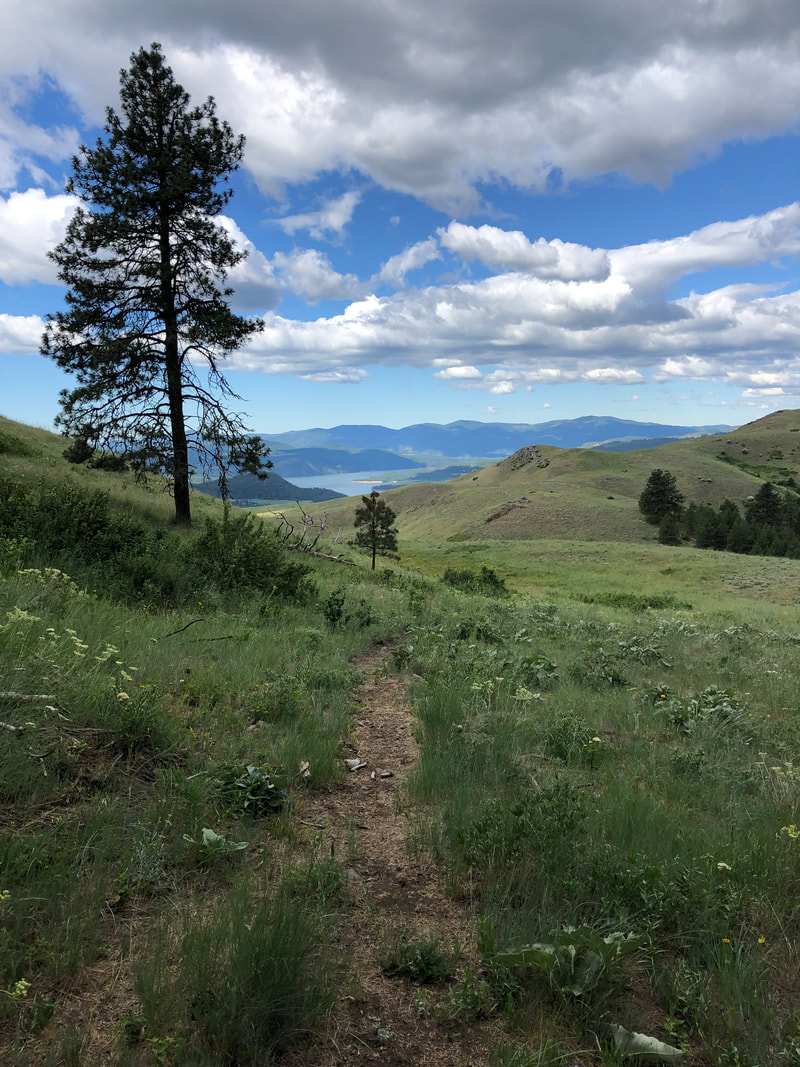
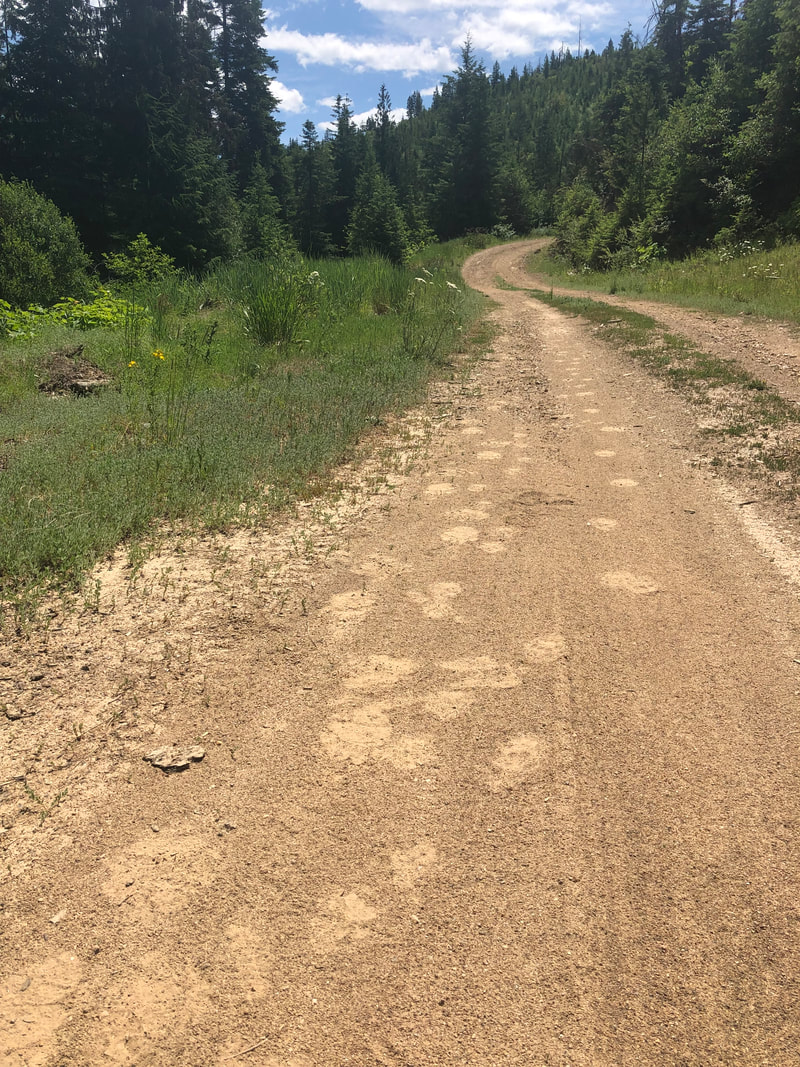
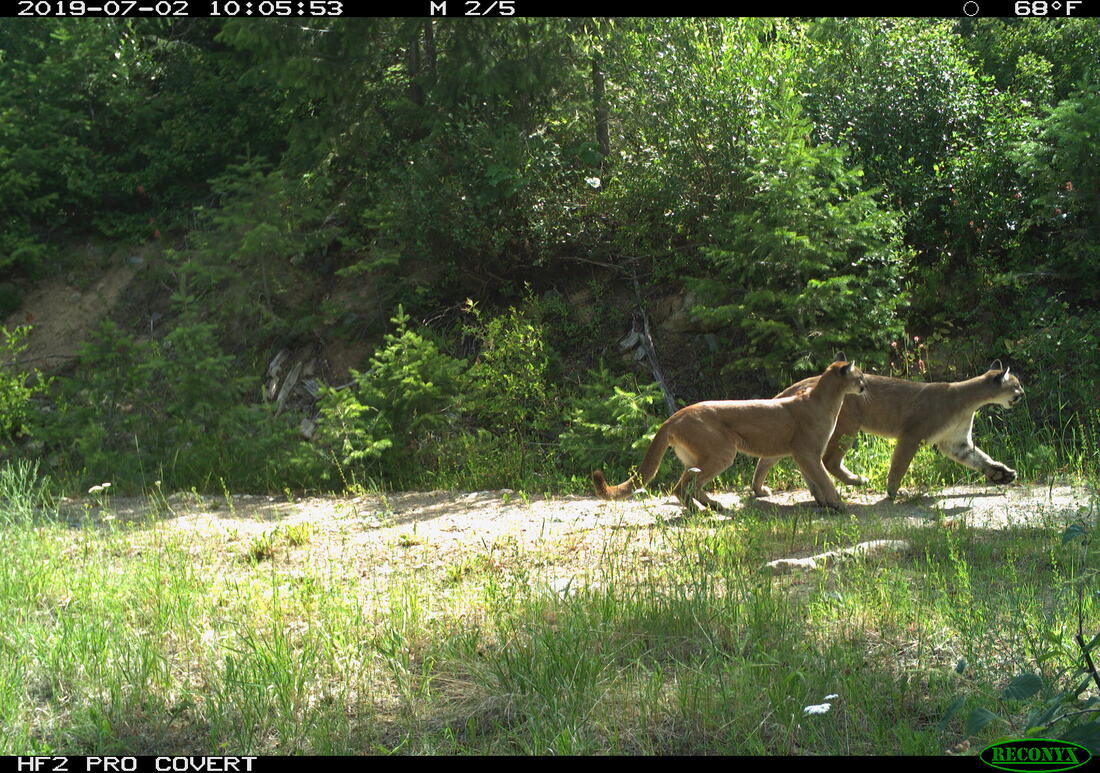
We use camera trapping to address a number of research questions on the Washington Predator-Prey Project. In principle, camera trapping is simple. You place a camera in the field, turn it on, and wait in anticipation for the day when you get to flip through all the amazing photos of animals that your camera collected. In practice, camera trapping is a bit more complicated than that, and how you set up your camera can make a world of difference in the species you detect and the quality of information you collect (Burton et al. 2015). Take, for example, our use of camera traps to better understand how predator-prey interactions influence habitat use [Community Dynamics] for different species in Washington. Because we are targeting a variety of species with our camera traps (e.g., bobcats, wolves, and elk), we have to place cameras across the landscape in a way that gives each study species some probability of being detected on camera. This means we use a random sampling approach to pick camera locations, where we randomly pick places across the study areas to deploy a camera, regardless of habitat type, land use, or accessibility from a road. Using a random sampling design should increase our chances of detecting a diversity of species that are representative of the animal community in the study area because our cameras are surveying an unbiased variety of habitats (O’Connell et al. 2011). 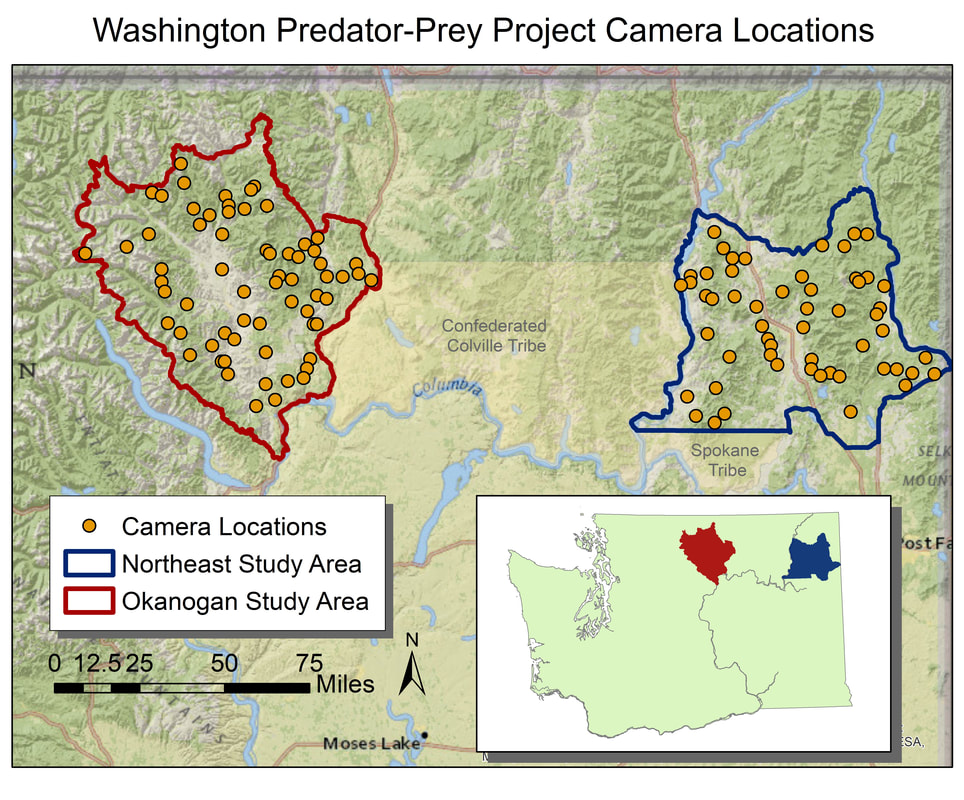 Map of random locations to guide camera trap placement across WPPP study areas. Once we get to that location (always with permission from the property owner), we need to set up the camera in a location where it has a high probability of detecting any species that uses that area. Because we are targeting both predators and prey species, we place cameras on game trails and roads. Although these linear features are not truly random locations on the landscape, they tend to funnel animal movement in predictable ways and placing a camera here can increase the chance of photographing rarer species, like wolves (Cusack et al. 2015). Examples of good roads or game trails to place a camera trap on. Both are relatively flat and straight with several trees to attach cameras to. Notice the fresh bear and cougar tracks in the dust on the road. When picking the exact spot for the camera, we consider whether a section of road/trail is flat and/or straight, both of which make angling the camera easier. We also look for animal sign to give us an indication of which species we might expect to see on camera. We generally attach cameras to trees or fence posts that are close to the road/trail. Sometimes we feel like “Goldilocks” when trying to find the perfect object to attach the camera to. It can’t be too close, but also not too far. It can’t be attached to something too small in diameter, but also not too large. And the camera can’t be too low to the ground, but also not too high. Distance and height of the camera influence how likely you are to get a good photo of an animal as it passes by (Meek et al. 2016, Jacobs and Ausband 2018). And diameter matters because if the tree is too small, it will blow in the wind and cause the camera to trigger unnecessarily. Too big, and the strap we use to attach the camera wont’ fit around the tree! 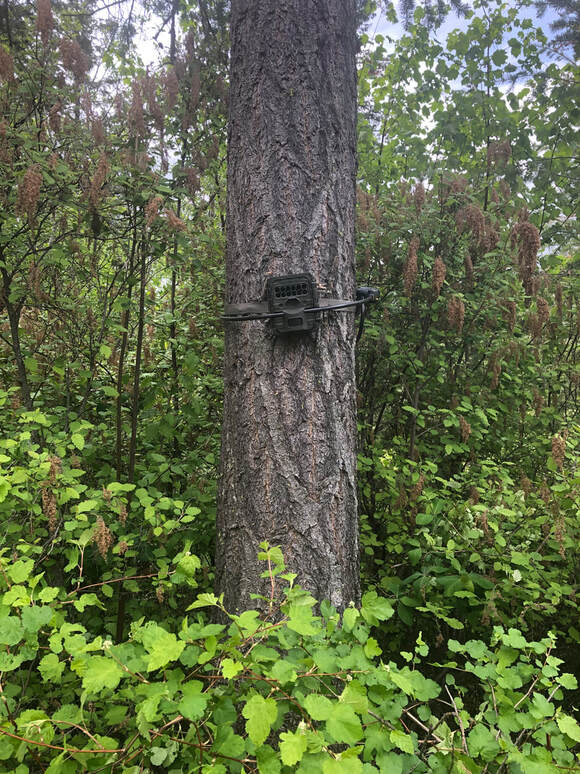 Final camera deployment. The camera looks a little off-kilter but this is to match the slope of the road it is monitoring. Once we find a satisfactory location to set up the camera, we have to test the camera’s aim. Subtle differences in the slope and curvature of the road/trail or slight differences in the angle of the camera can greatly influence whether the camera will trigger the way we expect it to. We want to make sure the camera will trigger on an animal walking from any direction and that it will trigger on large and small species (e.g., moose and bobcats). We therefore test the camera’s trigger by walking and crawling past the camera in any direction we think an animal might go. It may seem silly to imagine a scientist crawling around on all fours in the woods (indeed, it does look silly), but this ensures that we collect the highest quality data possible and minimize the chances of missing a detection just because the camera wasn’t set up properly. Once we are satisfied with how the camera is triggering, we turn it on and wait in anticipation for the day we can retrieve the memory card and find out which species used our camera site. 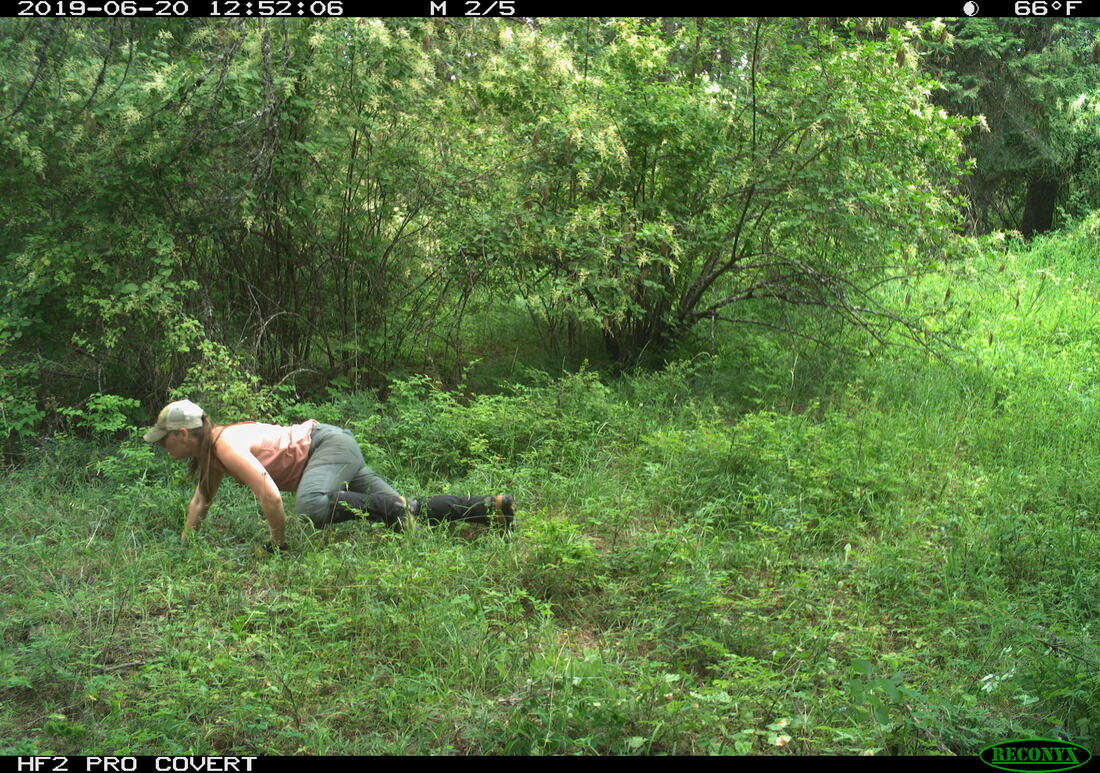 We often crawl low to the ground in front of the camera to mimic the height of a carnivore (i.e., "carnivore crawl"). This helps us ensure that the camera trap will trigger on animals of different sizes. Example of some of the many species we detect on camera. Notice the bull moose is actually walking along a game trail that intersects with the road. We intentionally placed the camera at this intersection to capture this kind of movement and trail use. The pair of young cougars passed by on the road soon after. Watch a timelapse video of UW PhD student, Sarah Bassing, and 2019 summer field technician, Parker Levinson, deploy a camera trap. Note how we walk and crawl in front of the camera multiple times to make sure the camera is triggering properly. We take final measurements, such as the camera's height and distance to road, once we've finished placing the camera.
0 Comments
Leave a Reply. |

 RSS Feed
